
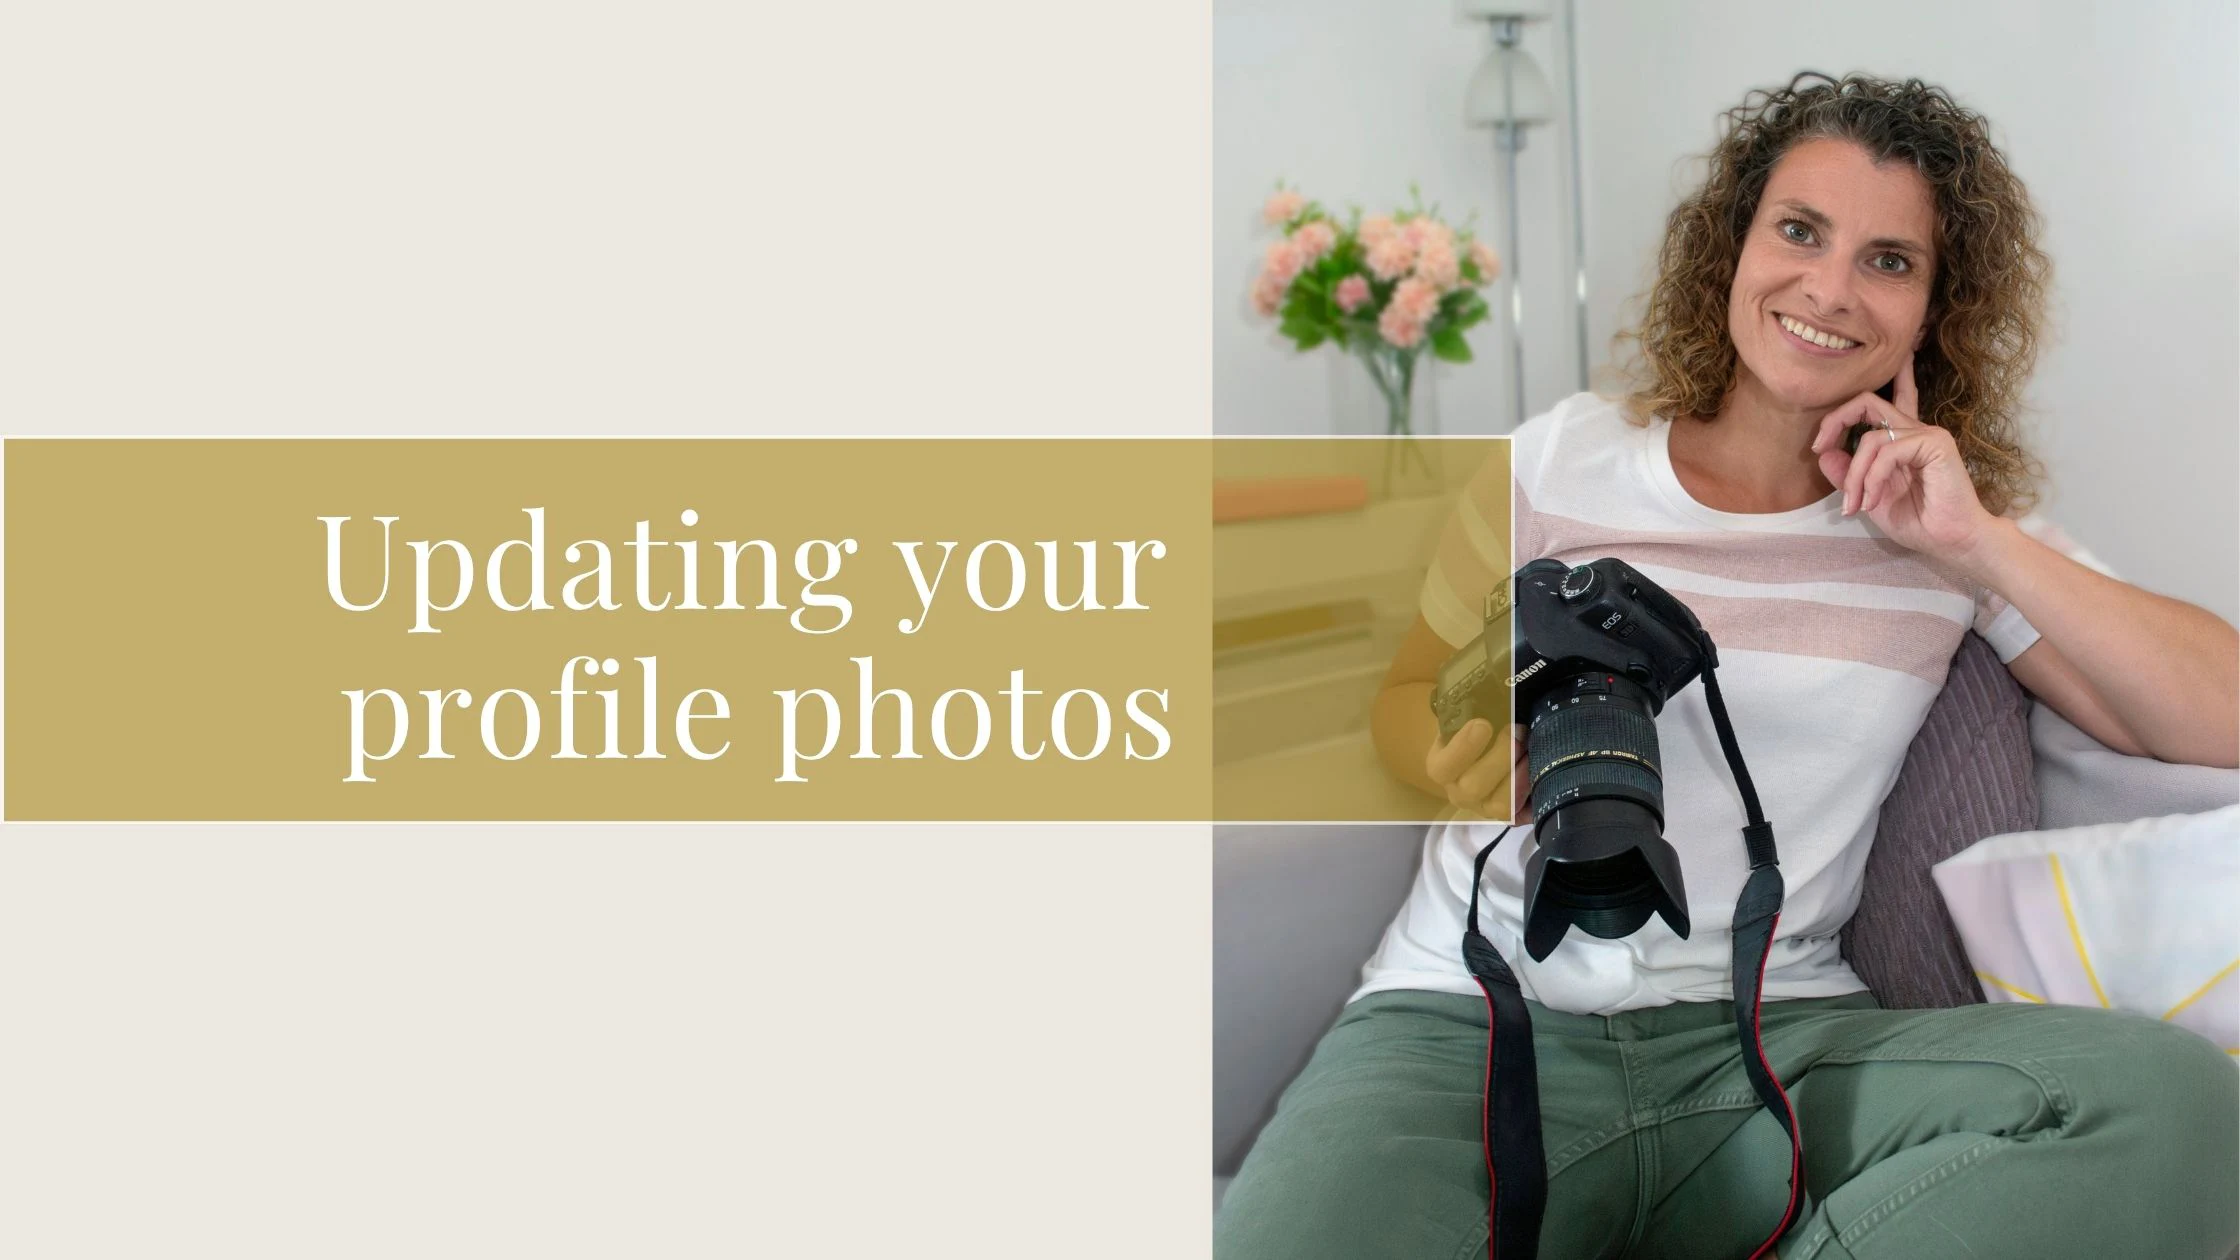
You’ve got your new brand photos.
Now comes the part that many business owners put off… Actually using the images! Particularly updating all the places where people see you online (You may have seen my recent blog post on tips to use your brand images).
However, the thought of updating your profile photos when you’re not very techy can seem quite daunting.
However… Most profile photos and banner images can be updated in just a few minutes.
So I thought I’d create a simple guide to some of the most common platforms.
Before You Start…
It’s worth creating a folder on your computer called something like “Profile Photos & Banners”. Save copies of the images you want to use in one place, including any banner images that have been cropped specifically for different platforms.
It’ll save you hunting through your gallery every time you want to update a profile, and you’ll know you’re using consistent images across your business.
In most platforms your profile photo is one of the first things people notice. It is usually displayed in a small circle, so crop your profile photo to a square with your face in the centre in order for it to fit nicely. Also I’d advise choosing an image where your face is fairly close to the camera and keep it simple. Wide shots can become difficult to recognise.
Some platforms also have banner images, read more about tips for the banner image in the section at the bottom of this blog post.
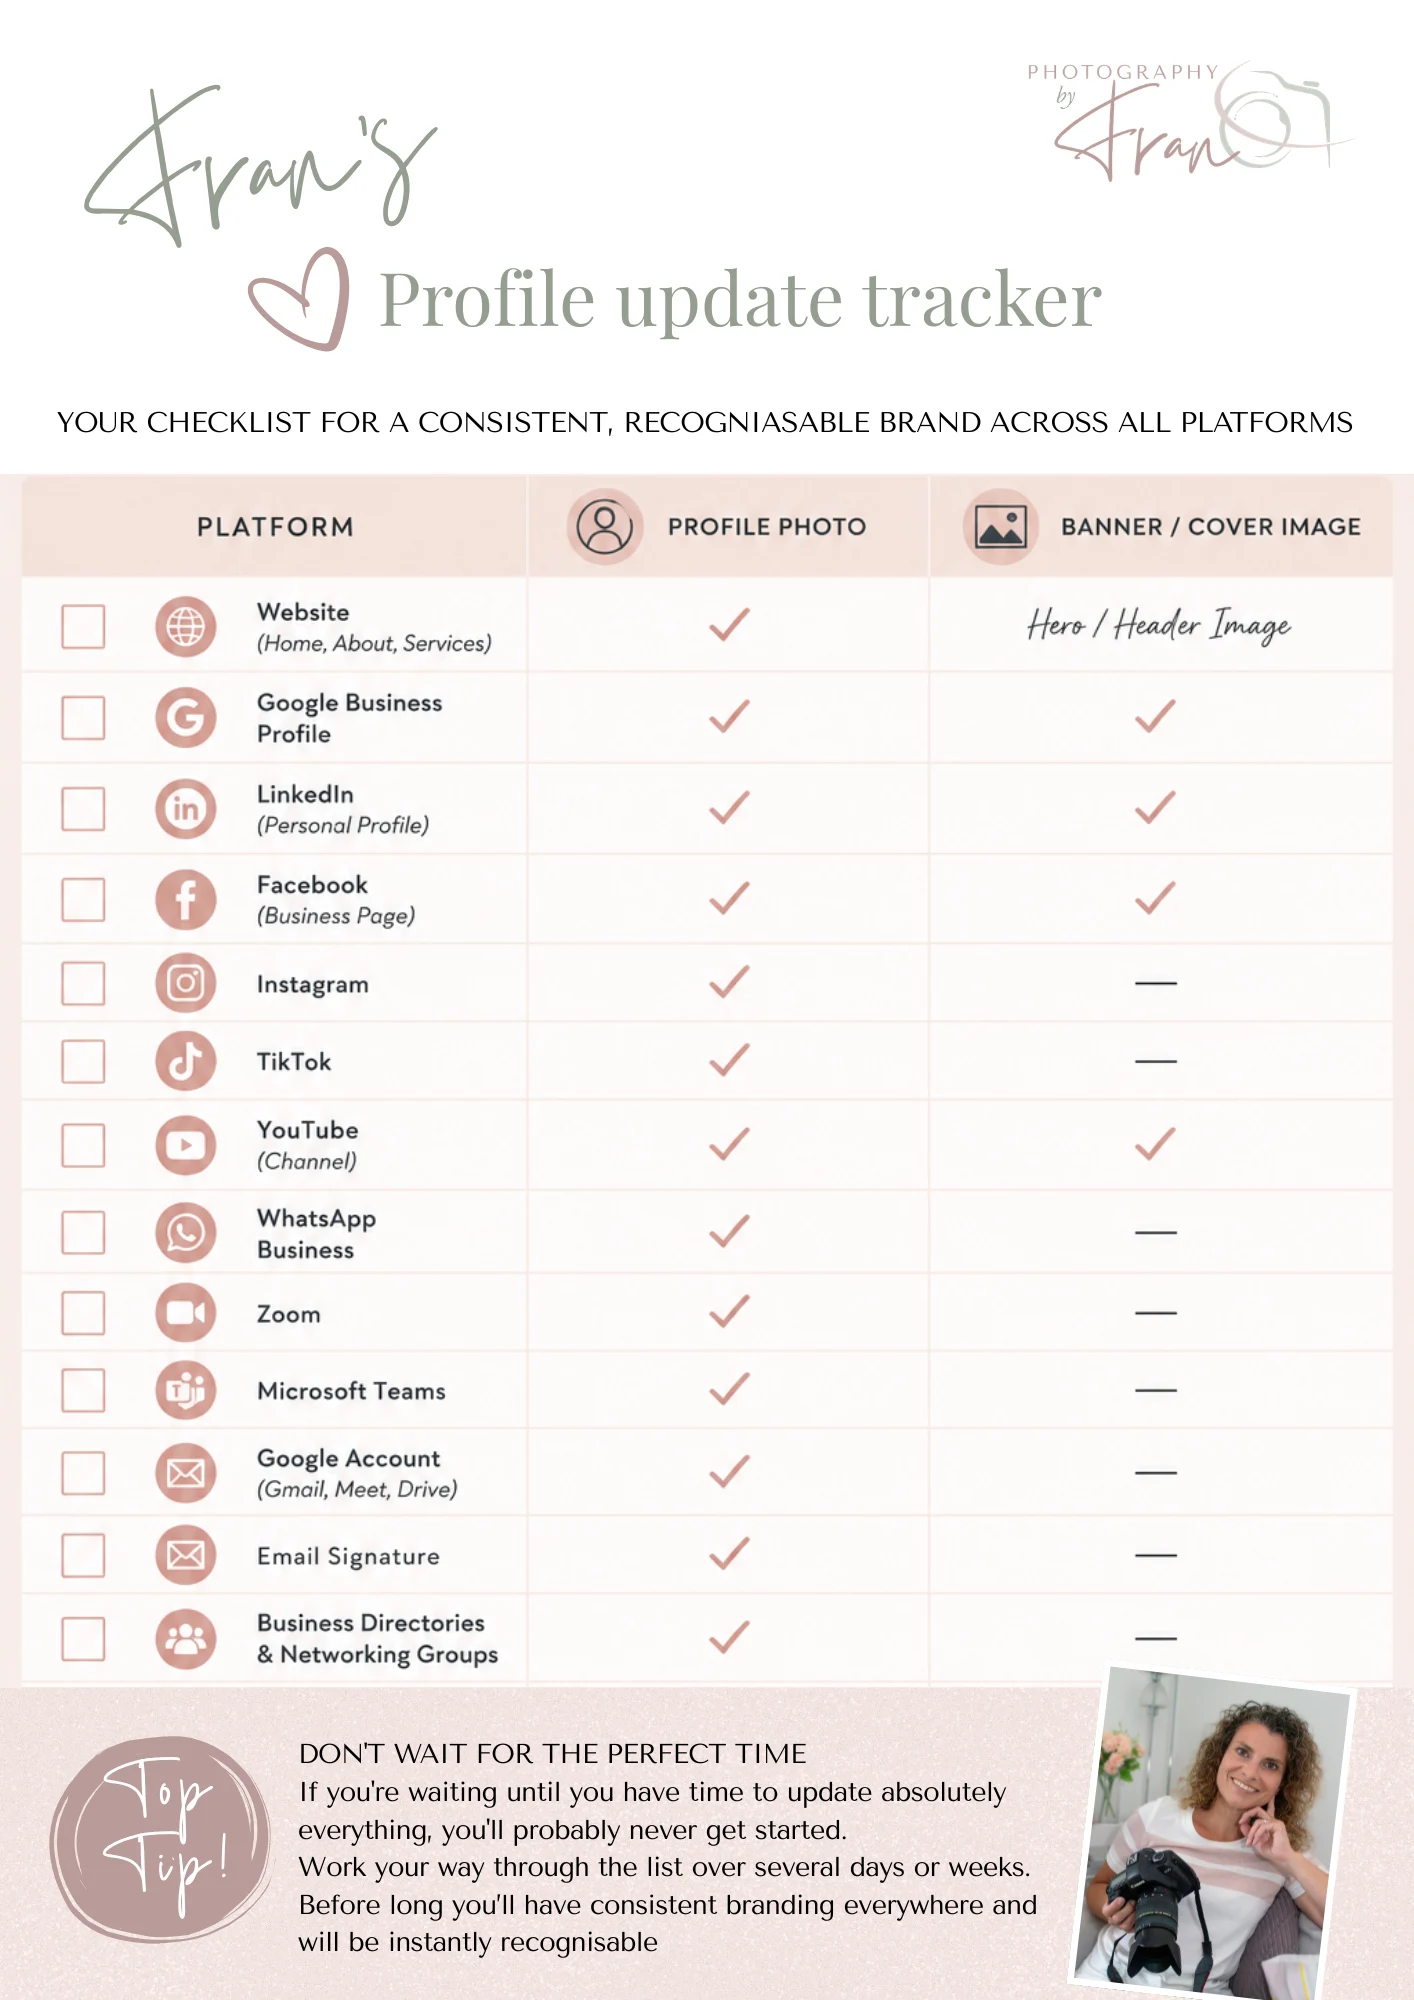
Below are some guides explaining how to change your photos, but I also created this profile update tracker to help you keep on top of your profile photos. Download your free pdf here.
1. LinkedIn
To update your Profile Photo
- Log into LinkedIn.
- Click your profile picture/name to open up your profile.
- Click your profile picture again – (Select “View Profile photo.” on mobile)
- Click the ‘Update’ camera icon.
- Upload your new image.
- Adjust as necessary, and Save.
To update your Banner image
Many people forget their banner image, but it’s valuable branding space.
- Log in and open your LinkedIn profile.
- Click the pencil icon in the top corner on the banner image.
- Select Edit cover image.
- Click the ‘Change photo’ camera icon.
- Upload your new image.
- Adjust as necessary, and Save.
Top tip: Choose a banner image with some empty space so important parts aren’t hidden behind your profile photo. (read more on the banners section below)
2. Facebook personal & business page
To update your Profile Photo
- Click your profile image to access your profile.
- Click the camera icon on your profile photo
- Upload your chosen photo.
- Save.
To update your Cover Image
- Click your profile image to access your profile.
- Click the camera icon on your banner/cover photo
- Upload your chosen photo.
- Adjust positioning if needed.
- Save.
3. YouTube
To update your profile picture:
- Sign in to YouTube.
- Click your profile picture.
- Go to View Your Channel.
- Select Customize Channel, (on desktop) or Edit Channel (on mobile)
- Scroll down to Picture (on desktop) and click Change or click the camera icon on your profile picture (on mobile).
- Upload your new image and save.
To update your banner image:
- Follow steps 1-4 above.
- Scroll down to Banner Image (on desktop) or click the camera icon on your banner picture (on mobile).
- Upload your new banner.
- Preview how it looks.
- Save your changes.
Banner Tip:
YouTube displays your banner very differently depending on whether someone is using a TV, desktop, tablet or mobile phone.
Keep any important text or logos in the centre of the image, as the outer edges may be cropped on smaller screens.
Before you finish, view your channel on both your computer and your phone to make sure everything still looks balanced.
4. Instagram
Instagram Profile Photo
- Open Instagram and scroll down to your profile on desktop or click the profile icon (bottom right corner) on mobile.
- Tap your prolfile photo on desktop, or the Edit Profile button below your profile information on mobile.
- Tap your photo or Edit Picture or Avatar.
- Choose New Profile Photo.
- Adjust if necessary.
- Tap Done on mobile – Please note destop automtically saves it
5. TikTok
TikTok Profile Photo
- Open TikTok.
- Tap Profile.
- Select Edit next to your name on mobile, or Edit Profile below your name on desktop.
- Tap your current profile photo or tap Choose Photo.
- Upload/choose your new image.
- Adjust as necessary
- Save or Apply.
6. Google Business Profile
- Sign into your Google account.
- Click your current profile photo and the tap Manage Your Google Account.
- Click on the camera icon over your profile photo.
- Browse/Upload your chosen image.
- Select the blue tick (mobile), or Upload (desktop).
- Adjust as necessary.
- Click Next and Save as profile picture.
7. WhatsApp
- Open WhatsApp.
- Tap the Settings cog (on desktop) or You (bottom right on mobile).
- Tap your current image (mobile).
- Select Edit.
- Choose your new photo.
- Adjust as necessary.
- Choose/Save.
8. Zoom
- Sign into Zoom from desktop or app.
- Click on your profile photo.
- Select My Profile (in app) or My Account (on desktop).
- Click your current photo/pencil/camera icon.
- Select Change, then Choose (on desktop), or Select from photo album (on mobile).
- Upload a new image.
- Adjust as necessary and Save.
9. Your website
Don’t forget to change images on your website too – although as website can be created in lots of different programs there are many ways to change them. if you’re unsure speak to your web hosting company to see if they can help.
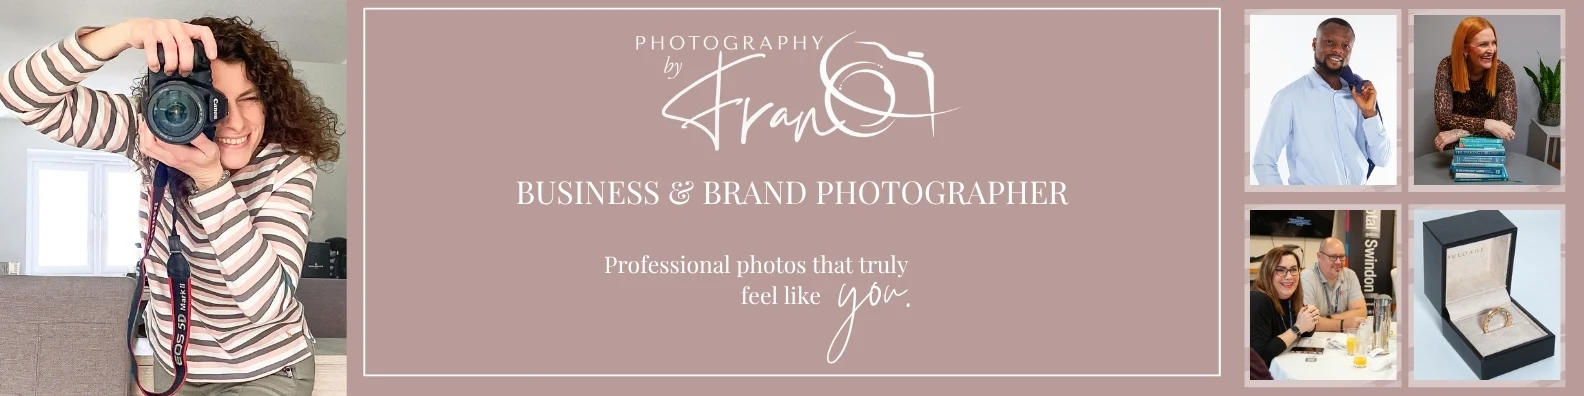
Some tips about Banner Images
Your profile photo is only part of your branding. Your banner (or cover) image is valuable space too, but it’s also one of the easiest things to get wrong.
Before you settle on a banner image, there are a few things worth checking.
1. Remember your profile photo sits on top of the banner
On both LinkedIn and Facebook, your profile picture overlaps part of your banner image.
This means that important details could end up hidden behind your profile photo without you realising.
When choosing your banner image, try to leave a little “breathing room” where your profile picture will sit.
2. Check it on both desktop and mobile
Banner images display differently across different devices.
A banner that looks beautifully centred on your computer may be cropped differently when viewed on a phone. The area blocked out by the profile photo can also vary. So it’s worth checking both versions after you’ve uploaded it.
If something important has disappeared, simply adjust the positioning or choose a slightly different crop.
3. Be careful with text
Remember while lots of information about your business may look lovely on a large computer screen, it can become incredibly small on a mobile phone.
If you do include text:
- Keep it short.
- Use a large, easy-to-read font.
- Leave plenty of space around it.
- Avoid placing it near the edges where it may be cropped.
4. Less is often more
Your banner doesn’t have to explain everything you do.
Its job is simply to support your personal brand and create a professional first impression, try not to make it too busy.
5. Don’t be afraid to tweak it
Once you’ve uploaded your banner, have a quick look at your profile on your computer, then again on your phone.
Check:
- Has anything important been cropped?
- Is the text (if you’ve used any) easy to read?
- Does it still look clean and professional?
Making one or two small adjustments now can make a big difference to how polished your profile looks.
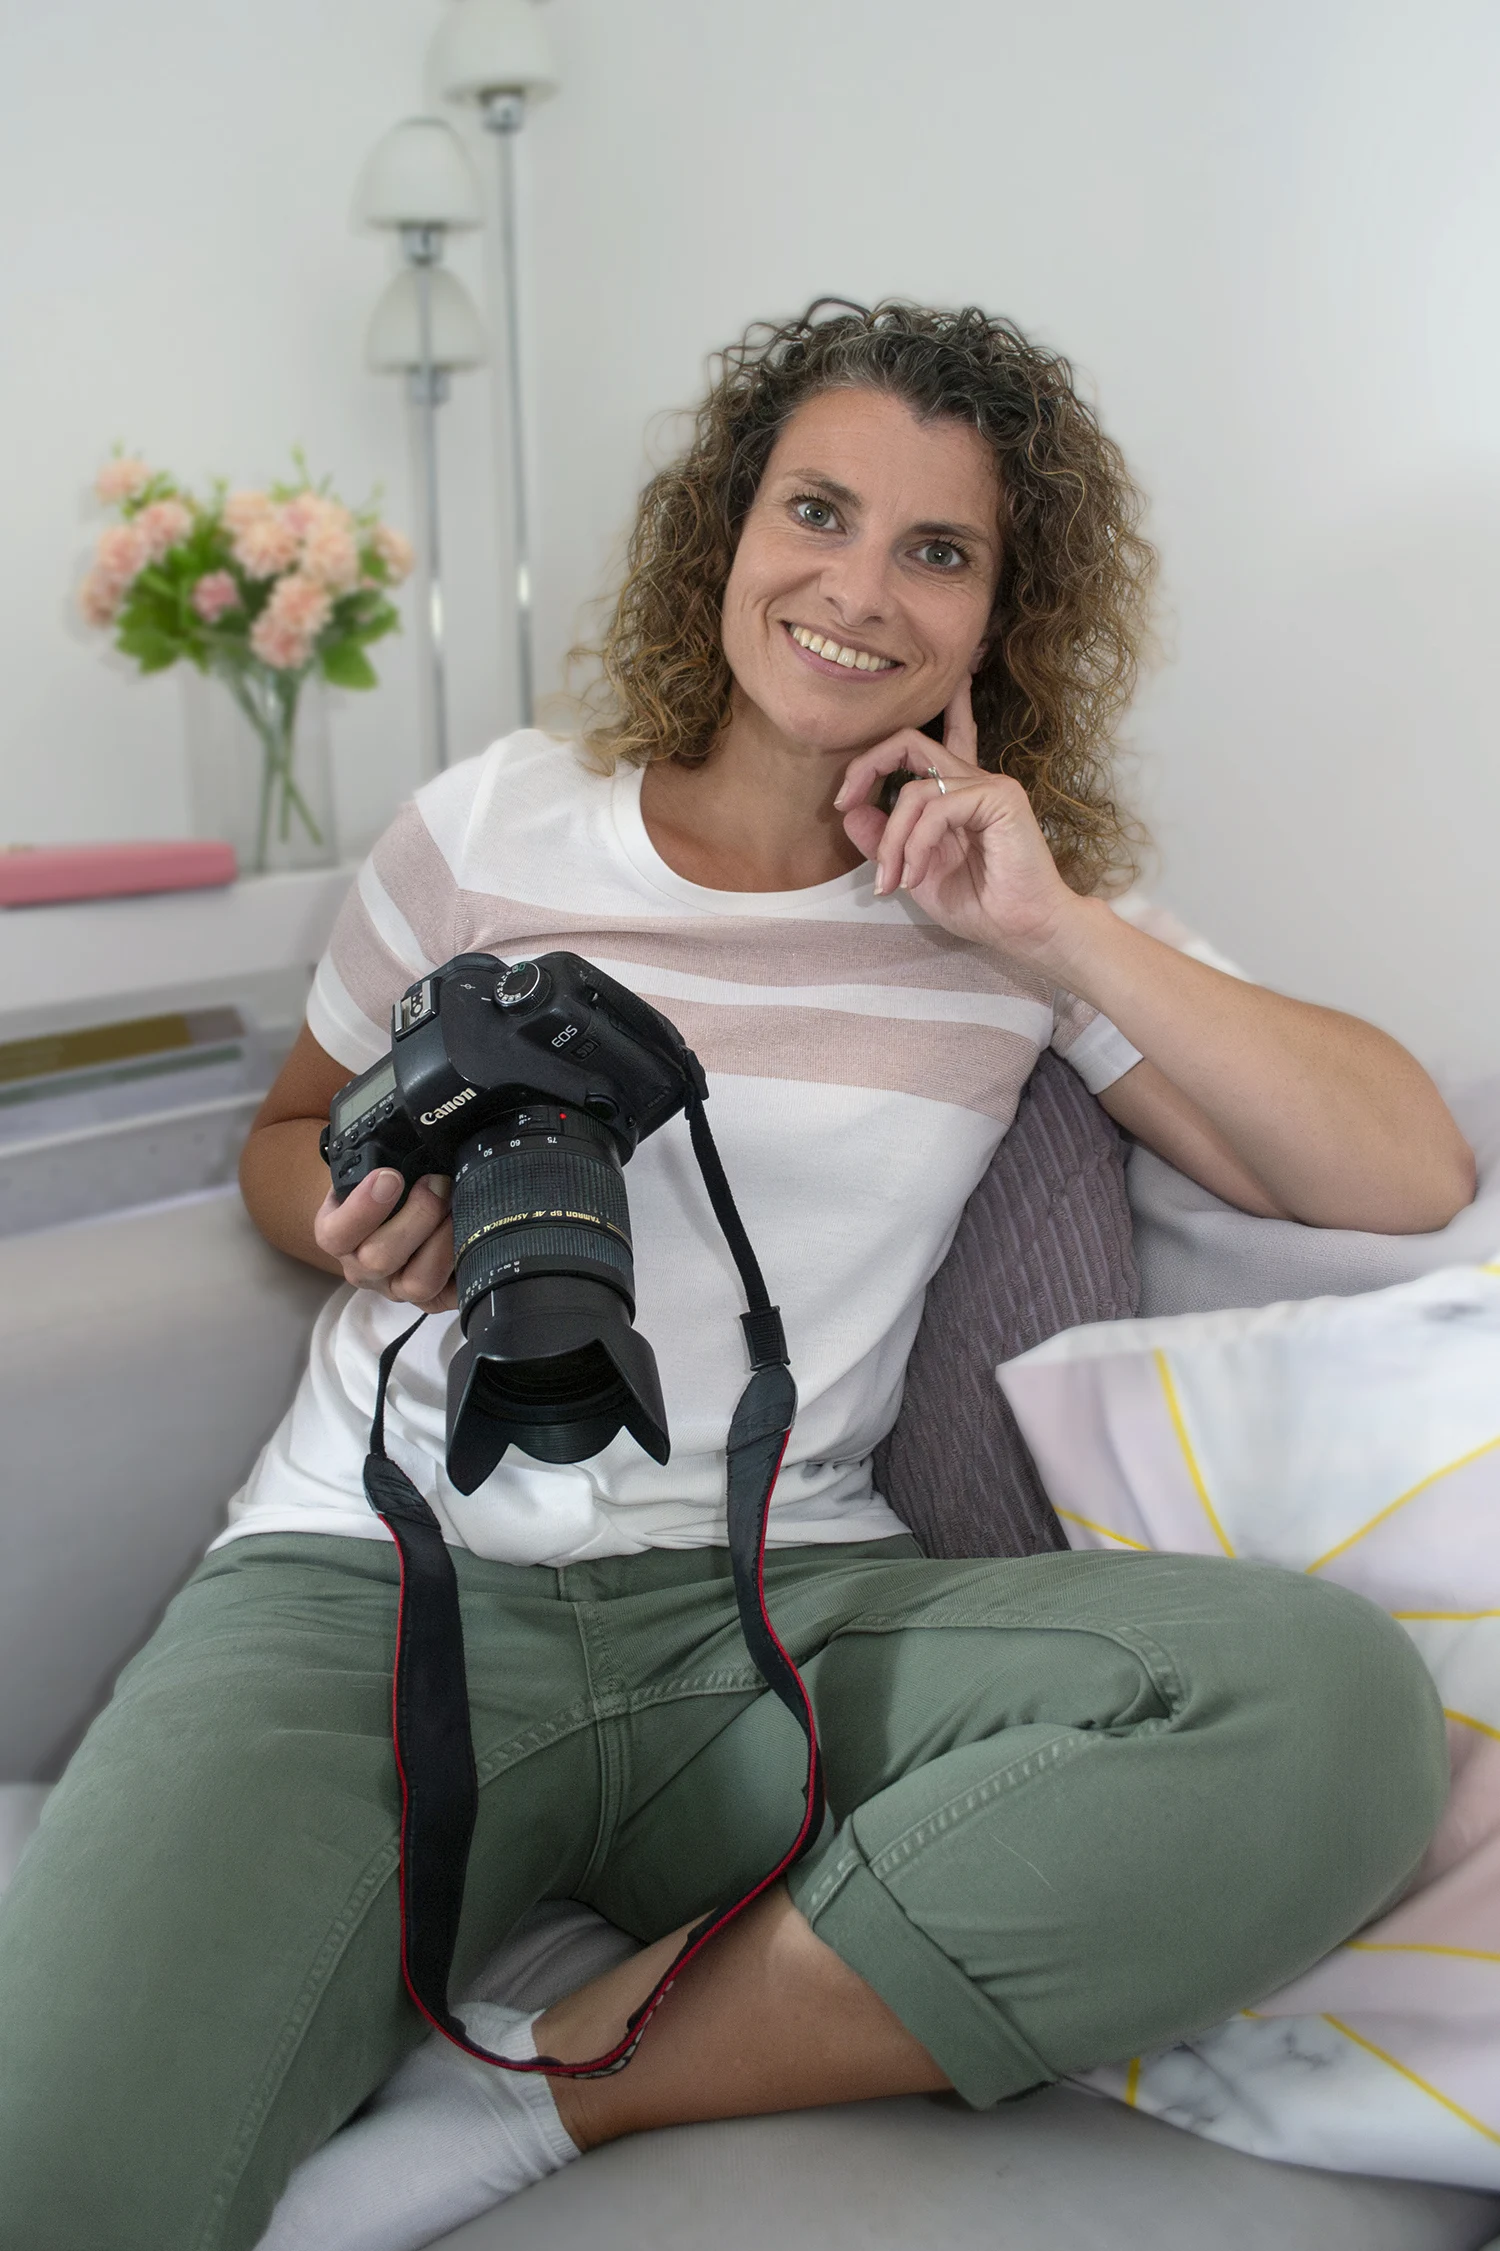
📷 Fran’s Tip: When I’m photographing clients, I often leave extra space around them in some images specifically because I know they may want to use them as website headers, LinkedIn banners or Facebook cover photos. If you think you’ll need banner images, let your photographer know before your shoot so they can capture a few wider compositions with plenty of copy space. It gives you much more flexibility later.
If you need a professional headshot or some brand images, in and around the Swindon area, I’d love to help ❤️
Check out my headshot or brand packages on my website
And if you’d like to get to know me better, then why not book a free, no-obligation discovery call, so you can ask questions, talk through ideas and make sure I’m the right photographer for you.